Wednesday, December 28, 2011

Fantasy brushes that will blow your mind and glow your artwork.

Being a digital artist brushes are the most powerful mediums to create something amazing. Not only medium but these brushes provide perfection and beauty to your work. So today I'm starting my Genre wise top brushes list for both Photoshop and Gimp. And the first genre I;ve selected is "Fantasy", the most widely used artwork theme. Let's explore some really powerful and beautiful fantasy brushes out there in this post....


Dirigibles: Really amazing steampunk type ships and other brushes. Download from HERE.


Friday, December 23, 2011

Learn an easiest way to create snowy Christmas artwork with Gimp.

Well holidays have just started and there's joy and happiness everywhere. In this joy and happiness of your's I'm going to add some more entertainment with this newest discovery of mine. For last weak I've been thinking and thinking of creating something Holiday special but I failed a many times. But today suddenly because of a wrong key press I found a really interesting and awesome technique to create winter and Christmas holiday artwork just for the sake of joy with learning. So in today's tutorial I'm going to introduce you with a fantastic technique with which you can create your own winter holiday(Christmas) artworks and illustrations. Let's get Started: (Please forgive my Bad English)


Wednesday, December 21, 2011

Create realistic wall impression painting in 4 steps with Gimp.

Lately I was experimenting with layer modes in Gimp, and I came up with an awesome technique. With this technique we can create pretty realistic old wall impressions or paintings like shown in the figures below:


So let's get started...

Friday, December 16, 2011

Create Movie 300 like illustrations in few steps with Gimp.

I'm a huge fan of Movie 300, I've watched this movie like many times and still i don't get bore of it, and I thing that's the magic of this movie. Getting inspired by special effects of this movie I was helplessly trying to find out ways to create environment and effects like they've provided in movie. And then God heard me. I came to know that there's a plugin "Movie 300" in "Gimp Plugin Registry". So without any delay I downloaded that plugin and created my first masterpiece "orion"[take a look]. And then as I always do, writing this tutorial to make sure that every reader of mine knows how to do this. So in today's tutorial I'm going to show you how to achieve this Movie 300 effect with pre-made plugins in few steps.
Let's get started then...

Resources:
Image from HERE
Movie 300 script from HERE
and Gimp 2.6

Step 1: Open this image in Gimp. (or you can use your own image).


Tuesday, December 13, 2011

How to create Dreamy Effect in gimp for beginners.

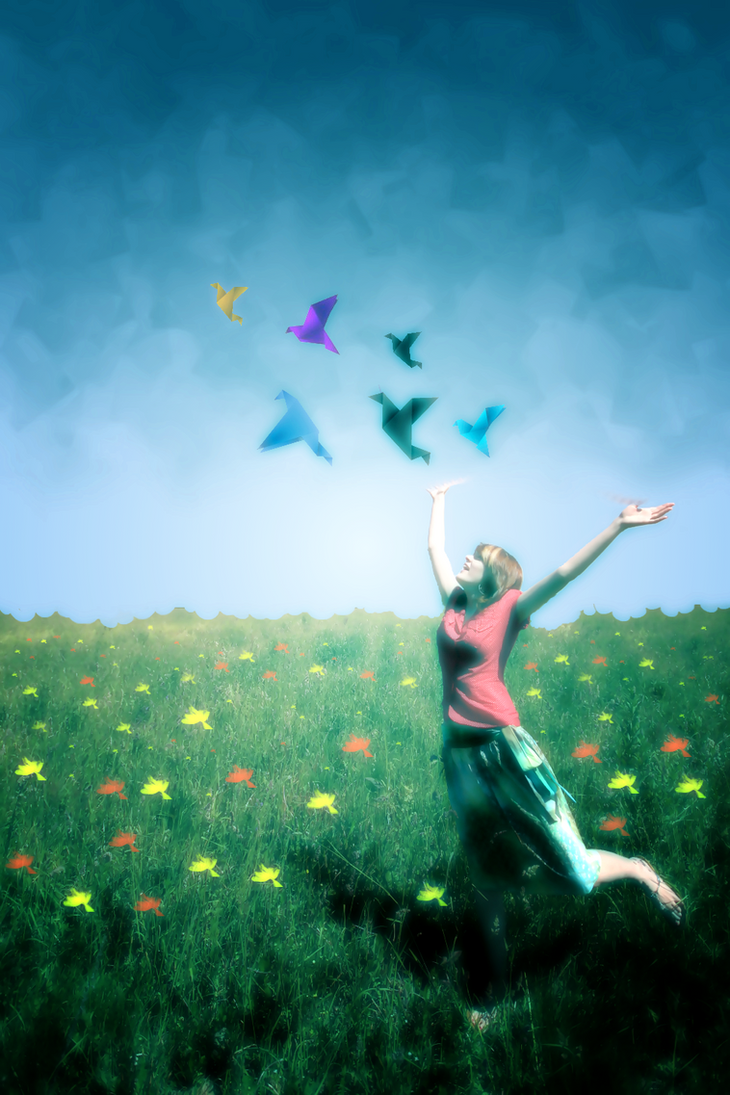
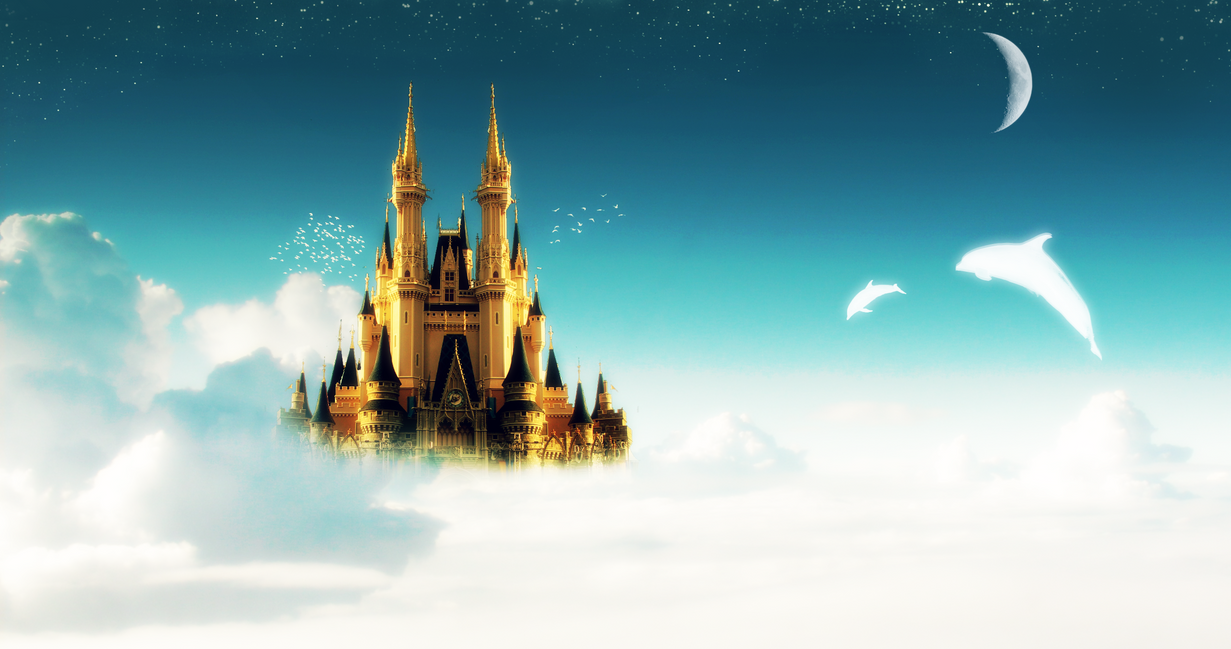
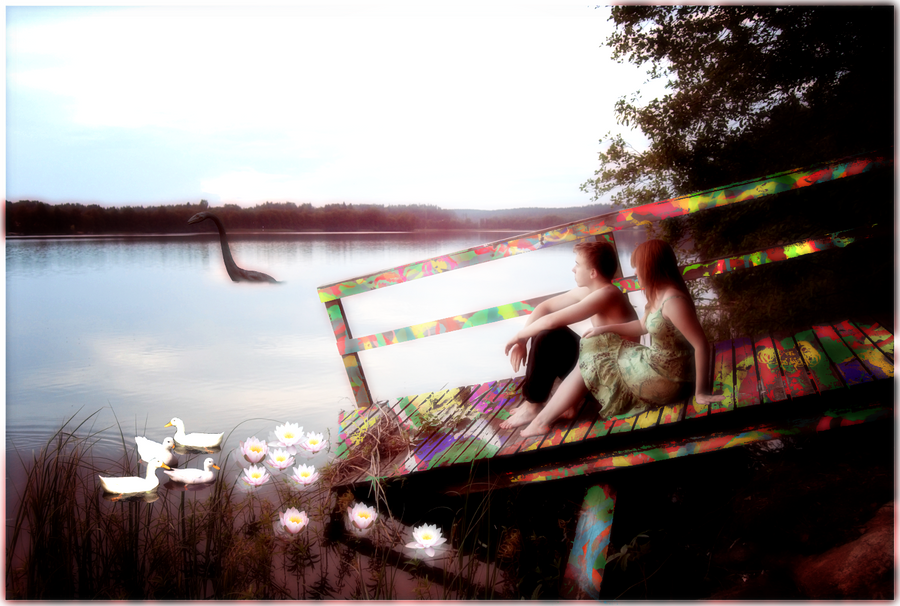
I love fantasy graphics and manipulations..we all do. We live most of our fantasies in our dreams. So today I'll explain you a easy and effective method to produce dreamy effect in your fantasy artwork so that you can represent your fantasy through your art in a more beautiful and fantasizing way. Following are some examples of artworks done with the use of Dreamy Effect.


The method that I going to discuss is quite easy to follow even for the beginners so all type of users can utilize this tutorial.
So let's get started...

Sunday, December 11, 2011

Create minimalistic app icons in 10 steps using Gimp.

We require icons at many places in our work. Either for an application or any custom script we need different icons to identify them. So today I'm explaining to you a very easy beginner level tutorial for creating minimalistic beveled icons. Below is the preview of what we'll get after the process:


Nice right??

Learn the easiest way to create beveled text in Gimp.

Either it is poster designing or image editing beveled text style is proven to be a classic and massively trusted way of text styling. So today we're going to learn a very simple and easy method for creating beveled text and beveled images also. So lets get it started,

Step 1: Open Gimp and create a new transparent image of size 300x50.


Saturday, December 10, 2011

Create Realistic Balloon Head Artwork with Gimp.

Last night while I was stumbling across some beautiful stocks on "deviantArt.com" I came across this beautiful stock of a Mouse "Harry". And I was very amazed to know that this picture is taken after his  recovery from chest infection. I really felt bad about him, but now he is healthy and well. Right after that I decided to use Harry in my new tutorial which represents a very funny and cool photo-manipulation technique known as "The Balloon Head".


So lets get started with this tutorial:

Wednesday, December 7, 2011

Learn Selective Colorization in 4 Steps with Gimp.

Today I'm going to discuss a very important and awesome technique in image manipulation known as "Selective Colorization". Selective Colorization is a technique in which a selected part of color image is left colorful and every other part is converted to B/W or Grey-scale. The technique I'm going to discuss is actually require a bit precision in your mouse handling skills so obviously it is not a beginners tutorials but beginners even with little extra efforts can generate beautiful results.
So let's get it started. First let me show you the final result of this process I'm going to explain.