Wednesday, December 28, 2011

Fantasy brushes that will blow your mind and glow your artwork.

Being a digital artist brushes are the most powerful mediums to create something amazing. Not only medium but these brushes provide perfection and beauty to your work. So today I'm starting my Genre wise top brushes list for both Photoshop and Gimp. And the first genre I;ve selected is "Fantasy", the most widely used artwork theme. Let's explore some really powerful and beautiful fantasy brushes out there in this post....


Dirigibles: Really amazing steampunk type ships and other brushes. Download from HERE.


Friday, December 23, 2011

Learn an easiest way to create snowy Christmas artwork with Gimp.

Well holidays have just started and there's joy and happiness everywhere. In this joy and happiness of your's I'm going to add some more entertainment with this newest discovery of mine. For last weak I've been thinking and thinking of creating something Holiday special but I failed a many times. But today suddenly because of a wrong key press I found a really interesting and awesome technique to create winter and Christmas holiday artwork just for the sake of joy with learning. So in today's tutorial I'm going to introduce you with a fantastic technique with which you can create your own winter holiday(Christmas) artworks and illustrations. Let's get Started: (Please forgive my Bad English)


Wednesday, December 21, 2011

Create realistic wall impression painting in 4 steps with Gimp.

Lately I was experimenting with layer modes in Gimp, and I came up with an awesome technique. With this technique we can create pretty realistic old wall impressions or paintings like shown in the figures below:


So let's get started...

Friday, December 16, 2011

Create Movie 300 like illustrations in few steps with Gimp.

I'm a huge fan of Movie 300, I've watched this movie like many times and still i don't get bore of it, and I thing that's the magic of this movie. Getting inspired by special effects of this movie I was helplessly trying to find out ways to create environment and effects like they've provided in movie. And then God heard me. I came to know that there's a plugin "Movie 300" in "Gimp Plugin Registry". So without any delay I downloaded that plugin and created my first masterpiece "orion"[take a look]. And then as I always do, writing this tutorial to make sure that every reader of mine knows how to do this. So in today's tutorial I'm going to show you how to achieve this Movie 300 effect with pre-made plugins in few steps.
Let's get started then...

Resources:
Image from HERE
Movie 300 script from HERE
and Gimp 2.6

Step 1: Open this image in Gimp. (or you can use your own image).


Tuesday, December 13, 2011

How to create Dreamy Effect in gimp for beginners.

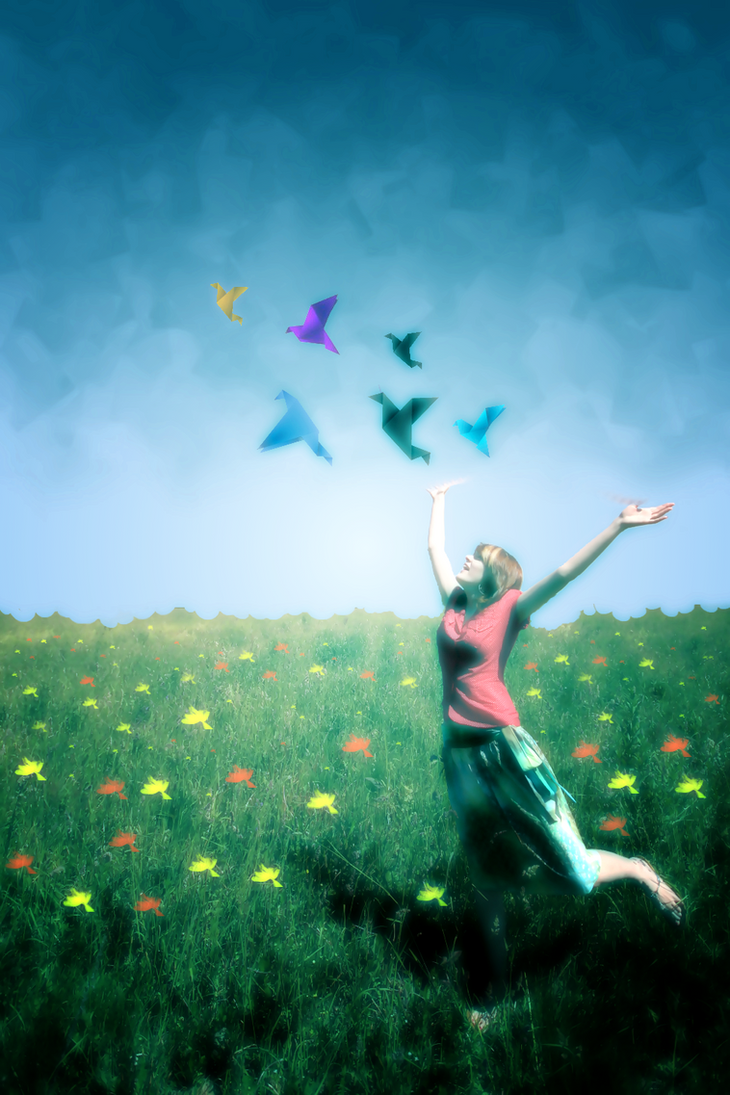
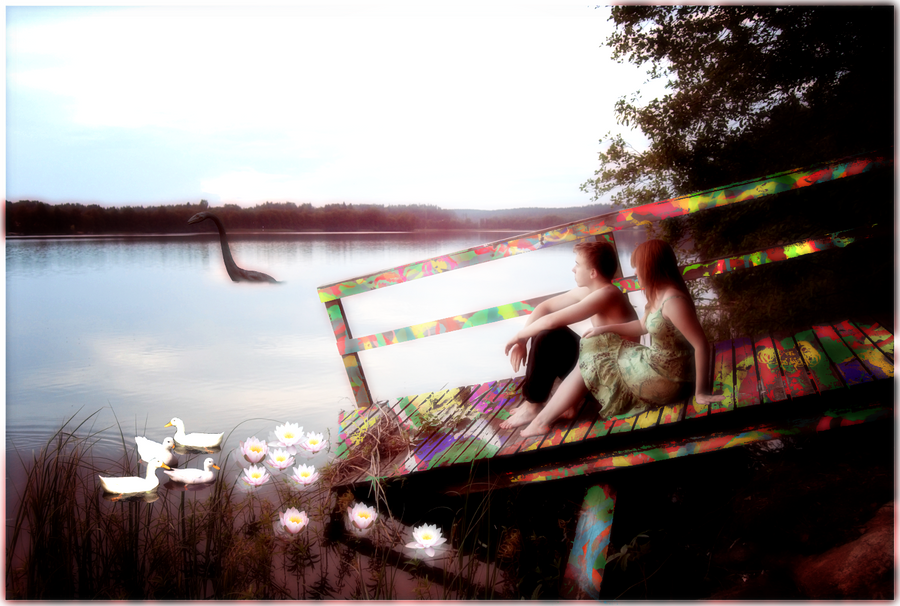
I love fantasy graphics and manipulations..we all do. We live most of our fantasies in our dreams. So today I'll explain you a easy and effective method to produce dreamy effect in your fantasy artwork so that you can represent your fantasy through your art in a more beautiful and fantasizing way. Following are some examples of artworks done with the use of Dreamy Effect.


The method that I going to discuss is quite easy to follow even for the beginners so all type of users can utilize this tutorial.
So let's get started...

Sunday, December 11, 2011

Create minimalistic app icons in 10 steps using Gimp.

We require icons at many places in our work. Either for an application or any custom script we need different icons to identify them. So today I'm explaining to you a very easy beginner level tutorial for creating minimalistic beveled icons. Below is the preview of what we'll get after the process:


Nice right??

Learn the easiest way to create beveled text in Gimp.

Either it is poster designing or image editing beveled text style is proven to be a classic and massively trusted way of text styling. So today we're going to learn a very simple and easy method for creating beveled text and beveled images also. So lets get it started,

Step 1: Open Gimp and create a new transparent image of size 300x50.


Saturday, December 10, 2011

Create Realistic Balloon Head Artwork with Gimp.

Last night while I was stumbling across some beautiful stocks on "deviantArt.com" I came across this beautiful stock of a Mouse "Harry". And I was very amazed to know that this picture is taken after his  recovery from chest infection. I really felt bad about him, but now he is healthy and well. Right after that I decided to use Harry in my new tutorial which represents a very funny and cool photo-manipulation technique known as "The Balloon Head".


So lets get started with this tutorial:

Wednesday, December 7, 2011

Learn Selective Colorization in 4 Steps with Gimp.

Today I'm going to discuss a very important and awesome technique in image manipulation known as "Selective Colorization". Selective Colorization is a technique in which a selected part of color image is left colorful and every other part is converted to B/W or Grey-scale. The technique I'm going to discuss is actually require a bit precision in your mouse handling skills so obviously it is not a beginners tutorials but beginners even with little extra efforts can generate beautiful results.
So let's get it started. First let me show you the final result of this process I'm going to explain.


Tuesday, November 8, 2011

Sunday, November 6, 2011

Create the Lava Man/Human Torch with Gimp.


I'm a huge fan of Fantastic Four and out of them Human Torch is my favorite. Today I going to introduce to with very important method for applying texture on any object using Gimp and using that method we will create our Lava Man/Human Torch. So let's get started.


Friday, November 4, 2011

Create Halloween Creepy Crack face with Gimp.

I know Halloween is over but craze never goes down. Right? So today I'm going to introduce you with an awesome Crack Face illustration. There are many tutorials for Photoshop to do this but this tutorial is specially focused on Gimp. SO here it goes:


Thursday, November 3, 2011

16 most desired brushes for Gimp and Photoshop.


Following is the list of 16 most downloaded brushes collected from top brush provider websites, which every artist should have in their collection. I hope this will help you in you searches.

1: Smoke Brushes: Awesome set of 21 High quality Smoke Brushes in High resolution (2000px) for Gimp and Photoshop cs/cs2/cs3. Download

Smoke Brushes

Tuesday, November 1, 2011

18 most useful G'mic scripts for beginners.

The G'MIC plug-in for GIMP proposes a set of various filters to apply on your images, including artistic effects, image denoising and enhancement algorithms, 3D renderers, etc.. It is a quite large plug-in, integrating a lot of different effects. G'MIC has been made available as an easy-to-use plug-in for GIMP. It extends this retouching software capabilities by offering a large number of pre-defined image filters and effects. Of course, the plug-in is highly customizable and it is possible to add your custom G'MIC-written filters in it.
This plugin has many qualities like:

  • Easy to use GUI interface.
  • Preview window to pre-check the result of any particular effect.
  • Easy update module to keep the plugin upto date.
  • Setting windows for to control the operation of filters. etc.

Monday, October 31, 2011

10 most useful Fx-Foundry plugins for Gimp beginners.

My last post was about some useful gimp filters. In this post I'll enlist 10 most useful Fx-foundry plugins for gimp beginners to grab some speed in their learning process. The list is as following:

  • Fx-Foundry:
    • Analogize : It makes any picture look as if it had been taken using an old analog
      camera. Exaggerates contrast and saturation and creates a bright and a dark overlay randomly placed. Think of it as kind of a Lomo Kompakt or Kodak instantmatic faking effect. Read More
    • Amazing Circles : Amazing Circle technique with advanced options. Includes options to choose border colour (or calculate from border average), border size and vignetting effect, whirl/pinch distortion, alternate circle method, plus optional drop shadow & shading. Read More
    • Orton Effect : Orton imagery, also called an Orton slide sandwich, is a photography technique which blends two completely different photos of the same scene, resulting in a distinctive mix of high and low detail areas within the same photo. Read More
    • Vivid Saturation : Vivid saturation of image. Gives similar effect as many Digital Velvia filters do for the Other Product. Read More
    • Bercovich Lomo : A variation of lomo effect. Read More
    • Lomo Effect : Lomo-Gimp tries to give your digital pictures the warmth of those taken by an old rangefinder analog camera. Think of it as a Kodak Instamatic or a Lomo Holga faking effect. It enhances contrast and saturation, and applies a light and a dark overlay, trying to emulate incorrectness in exposition. Read More
    • Cross Processing Effect : Cross processing (sometimes abbreviated to Xpro) is the procedure of deliberately processing photographic film in a chemical solution intended for a different type of film. Read More
    • MidNight Sepia : Midnight Sepia applies a soft-focus effect, as well as a slight sepia toning (or any other hue, you can choose) to create a 'dreamy' effect. Read More
    • Graduated Filter : Graduated filter, is an optical filter that has a variable light transmission.  It is used to bring an overly-bright part of a scene into the dynamic range of film or sensor. For example, it can be used to darken a bright sky so that both the sky and subject can be properly exposed. Read More
    • Diffusion Filter : A diffusion filter is a translucent photographic filter used for a special effectRead More
I hope these are helpful. Enjoy...

10 coolest gimp filters for beginners.

I think the best way to learn use of any image editing software is to get acquainted with the plugins available with that software. Today I'm going to enlist 10 new and coolest Filter-Plugins that every gimp beginner should learn and use to speedup his learning process.
  • Filters : 
    • Rainy Landscape : This filter changes a dry landscape into wet one like just after rain. Read More
    • Sunny Landscape : This filter changes a rainy landscape into sunny one. Read More
    • National Geographic : This script simulates a high quality (portrait) photo like these from the National Geographic. Read More
    • Che Guevara : This script generates a poster like the famous one from Jim FitzpatrickRead More
    • Cyanotype : Cyanotype is a photographic printing process that gives a cyan-blue print. The process was popular in engineering circles well into the 20th century. Read More
    • Diana-Holga2b : This script-fu for The Gimp is an attempt to simulate the Diana/Holga Toys Cameras effect. Read More
    • Movie 300 : This script simulates the color style of the movie "300". Read More
    • Obama HOPE : This script generates a poster like the famous Obama "HOPE" one from Shepard FaireyRead More
    • Lomo : This script simulates the Lomo effectRead More
    • Infrared Simulation : Simulate a B&W infrared image. Read More

Sunday, October 30, 2011

Create a cool Profile Picture in just 5 steps with Gimp.

There are thousands of such tutorials out there for the same topic "cool profile picture". But I'm sure that not all of them got what you really need. This tutorial can fulfill your requirements to some level as it provide a very minimalistic but still stylish result. And all of that in just 5 steps. Isn't it cooool? if yes then let's do it right now...

Resources:
  • A picture of your to which you want to convert into something awesome. I'm using this pic of my younger brother as resource.
  • And Gimp any version.
Here's the sample of the result that you can achieve...


Thursday, October 27, 2011

Create an eye-catching illustration with Gimp brushes.

I love Gimp. And that's why I keep finding awesome methods to do some thing out of the league. In today's tutorial I am going to introduce a newest discovery of mine. This is a cool method to create beautiful digital artwork using only brushes. Yes only brushes, no stock photo or anything simply brushes. But believe me the final result will be simply outstanding. So let's get started,


Tuesday, October 25, 2011

Easiest Way to Create Vector Art with Gimp.

I love vector arts and that's why I always wanted to create some. But unfortunately were very few tutorials for vector art. Even now a days you will not find a easy and beginner level tutorial for creating a perfect vector image from original image. But no more worries, cause ultimately I've found the best and easiest method to do that.


Saturday, October 22, 2011

Cartoonify any image better than any available plugins in 5 steps with Gimp.

I know there are many plugins/scripts available out there for gimp to Cartoonify any image. But I never got a satisfying result from any of those plugins. Today I'm going to introduce you with a small but effective method for Cartoonifying any image without any famous gimp plugins.
Resources--

  • An Picture (of your choice)
  • Gimp Fx-Foundry
  • And Gimp-G'Mic
Ok so let's get started....

Step 1: Load your picture in Gimp.


Thursday, October 20, 2011

How to create a futuristic hero with Gimp.

I am a great fan of sci-fi themed art. The way these artworks represent the future generate a massive curiosity in our mind about "how the thing are going to be in the future". This curiosity inspired me to produce sci-fi artwork using my imagination. And the first things that hot my mind were Superheroes, world war, aliens etc. When I tried to combine these things they were all directing to a single and awesome option HALO. HALO was the game I was recently playing. So I set my mind to create a HALO artwork with a futuristic twist in it, And you are going to do that with me too. So let's make our World War 3 artwork with HALO.


interesting right??


Ok then lets gather the resources that will be required during the process.

Monday, October 17, 2011

How to Create the Castle in the Sky Artwork with Gimp.

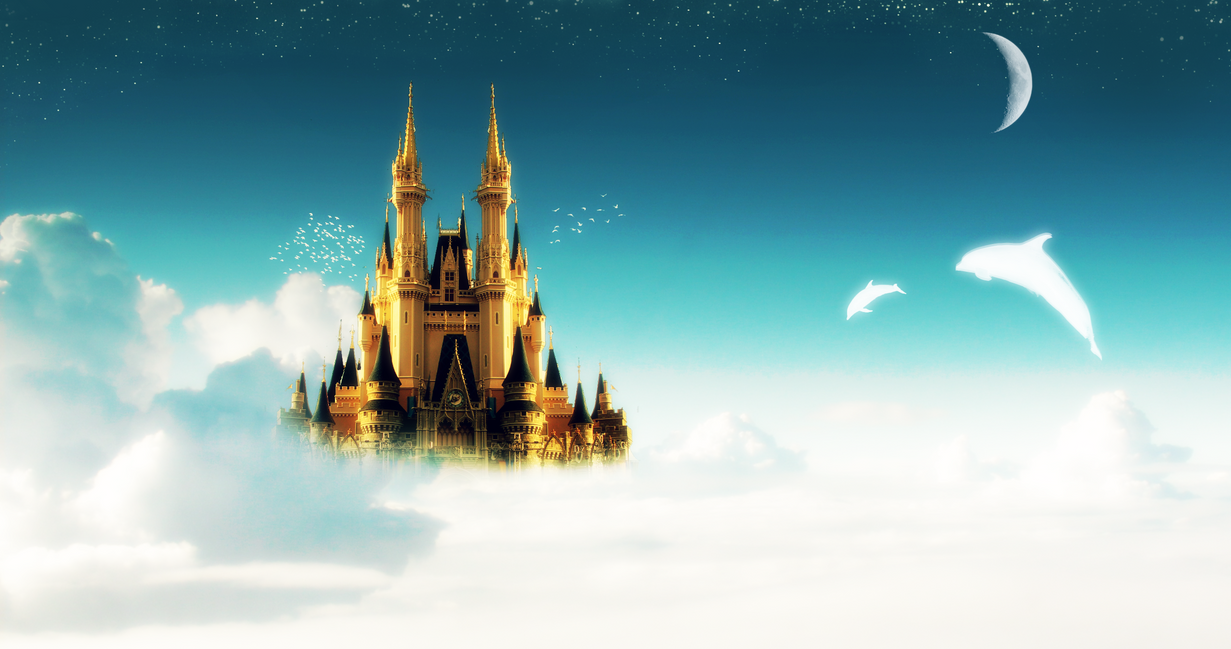
I love fantasy artwork of all kind. Now as I have very limited traditional art skills I prefer fulfilling my urges for creating fantasy art using Photo-Manipulation. In the huge world of fantasy there is a very significant and important topic which is The Castle in the sky. Different people imagine it in different ways, but all of them want to show the same thing.
  So in today's tutorial we are going to create an awesome castle in the sky artwork using some stock images I mouse-picked from deviantart.com and our own image manipulation program GIMP. Resources I used in this tutorial are enlisted below..

An this is the Final Result you will get if you'll go with the instructions.


Fascinating Right?? So Let's Make It.


Friday, October 14, 2011

How to make Minimal Warrior Type Wallpaper with Daz Studio 4 Renders and Gimp Fx-Foundry

Alright, Let's get started with choosing our Daz studio rendered image. Daz studio is a 3d modelling software. You can get awesome renders from 3d Section of DeviantArt. The Image I'm going to use in my tutorial is rendered by myself and I've uploaded it on my profile in g0rg0d.deviantart.com, you can download it from there also.

Gimp Tutorial: Turn a Boring Image Into something Appealing in 10 steps.

I Like Playing with Gimp Plugins and scripts specially with G'mic and x-Foundry. In this tutorial we are going to manipulate a dull and unexciting image into something awesome. To accomplish this task we need following requirements to be fulfilled.

  • I'm using this cool picture by xxxkurotsukikoxxx from deviantart. You can use any Image (could be any photograph which u think is not very appealing)
  • Gimp 2.6 or better.
  • Gimp Plugin Registry [Google it PLZ](best way to learn is to try by yourself,I did the same)
  • Fx-Foundry[Google it too]
  • Gimp-Gmic[Google Again]
I think this will install all what it necessary and required. So let's get started with our tutorial.
Following figure shows the image before and after the whole process we are going to follow.